Filter media replacement service
What is a filter media?
Filter media is the most important part of the filtration system to separate unwanted elements from the solution to be filtered. The type of media selected for use in the filter tank depends on the quality of the input solution and the quality requirements of the output solution.
Why do I need to change the filter media?
Why do I need to change the filter media of coarse filters? Don’t sand, gravel, and iron-reducing filter beads or activated carbon last forever? Well, the answer is yes and no.
- Yes, sand and gravel basically last forever but over time they lose their effectiveness as a filter media. To the naked eye, the sand and gravel used in sand filters looks like any old regular sand and gravel out there. But upon closer inspection, you will see that the sand particles are actually rough and textured. This roughness is what provides the filter media. Small pieces of dirt, algae, dead bugs and other contaminants are trapped by the small ridges in the sand and the clean water flows through. Over the years, this texture becomes smoother and flatter due to the amount of water passing through. To illustrate this point, try walking along a beach or stream, have you noticed that most of the small rocks have smooth surfaces? The surface of the rocks (and in our case, sand) is polished over the years and although you are left with a beautiful layer of fine sand, it is useless as a filter material.
- Furthermore, activated carbon will lose all its inherent absorption and adsorption properties. Making it an inert material over time and gradually losing its effectiveness
- As for iron removal, manganese removal or pH raising particles, the ability to reduce and raise pH also decreases over time, the material is worn out or disappears and makes them useless
- So what about ion exchange resins? Whether ion exchange resins are good or not depends largely on their exchange capacity in meq/l or eq/l, when operating for a long time, the exchange capacity gradually decreases, so the ability to restore them to their original state becomes extremely difficult. Part of the reason is that dirt such as iron and manganese adhere to the surface of the resin particles, reducing their contact area with water and the regeneration solution, which also causes it to gradually lose its ion exchange effect.
How often should I replace my filter media?
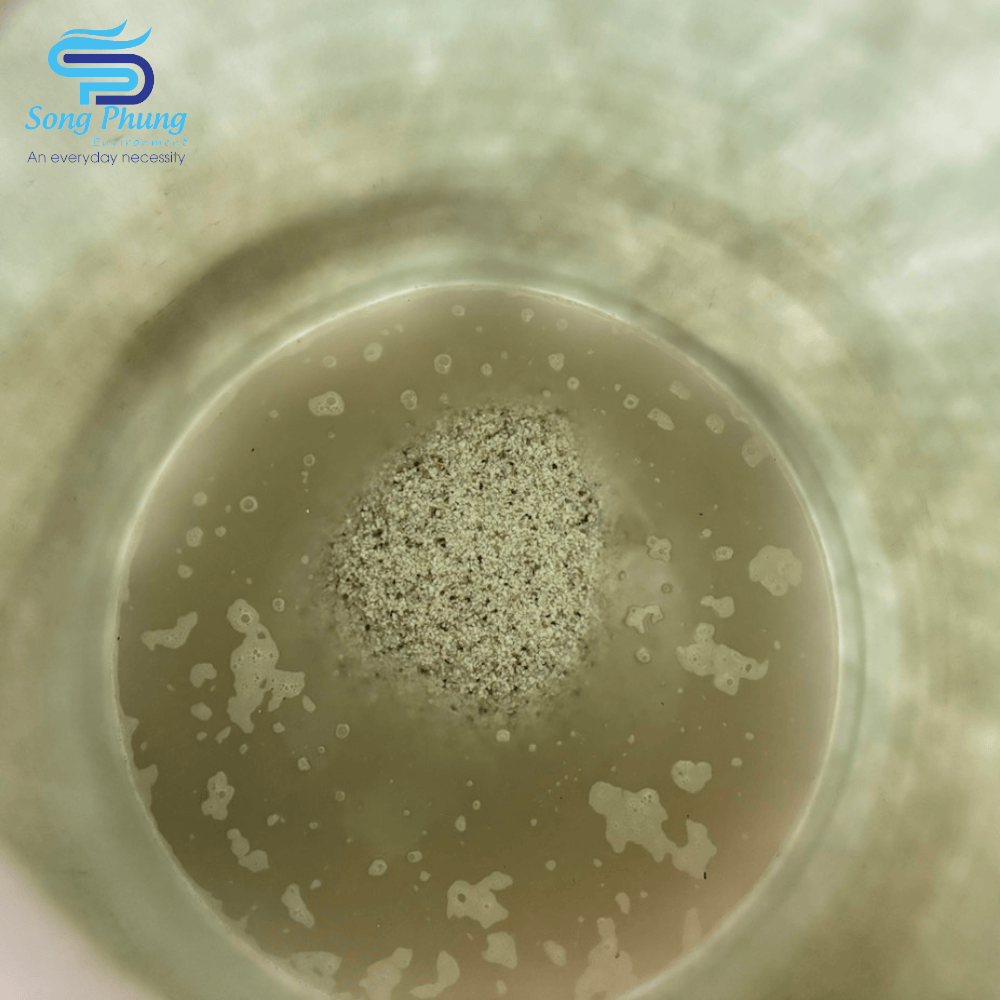
Depending on how you use it, your filter media can last for many years without needing to be replaced. We recommend that you replace your filter media completely at least every 2-3 years and no later than 4 years. This not only ensures that your filtered water is filtered optimally, but also helps reduce the operating costs of your entire filtration system. The best way to tell if your filter media is nearing the end of its life is if your filtered water tank becomes cloudy more often and the filtered water analysis becomes worse, or the filter cycle is shortened, causing your operating costs to increase significantly.
Can I reuse old filter media for my filter?
Absolutely not. Don’t even try to use regular sand in your sand tank filter because at the very least, it won’t filter your water, but what’s most likely to happen is that it will destroy your entire filter system.
Especially for the gravel support, most people think that it plays a secondary role in the filtration process (it’s just a support layer to prevent sand and other filter media from entering the filter nozzle), but if you reuse this old filter material, it will more or less affect the filtration efficiency because the abrasion and adhesion on the surface are very difficult to completely wash off. The gravel support layer usually accounts for the least proportion and is the cheapest of the expensive filter media layers above, so don’t think too much about it but decide to replace it with the other filter media.
Types of filter media
In general, filter media are very diverse, each type plays a certain role in the filtration process. We list some common types of filter materials as follows to include in the worksheet:
- Filter gravel
- Filter sand
- Anthracite coal
- Activated carbon
- Media remove iron/manganese/As
- ODM filter media
- Ion exchange resin
Step-by-Step Guide to Changing Filter Media
Now that you know about the different types of sand filter media, it’s time to get down to it. Changing your filter media.
Step One:
Turn off your filter and pump. This is important because you don’t want the pump running while you’re changing the filter media in your media tanks. To be completely safe, turn off your pump’s circuit breaker and unplug everything completely.
Step Two:
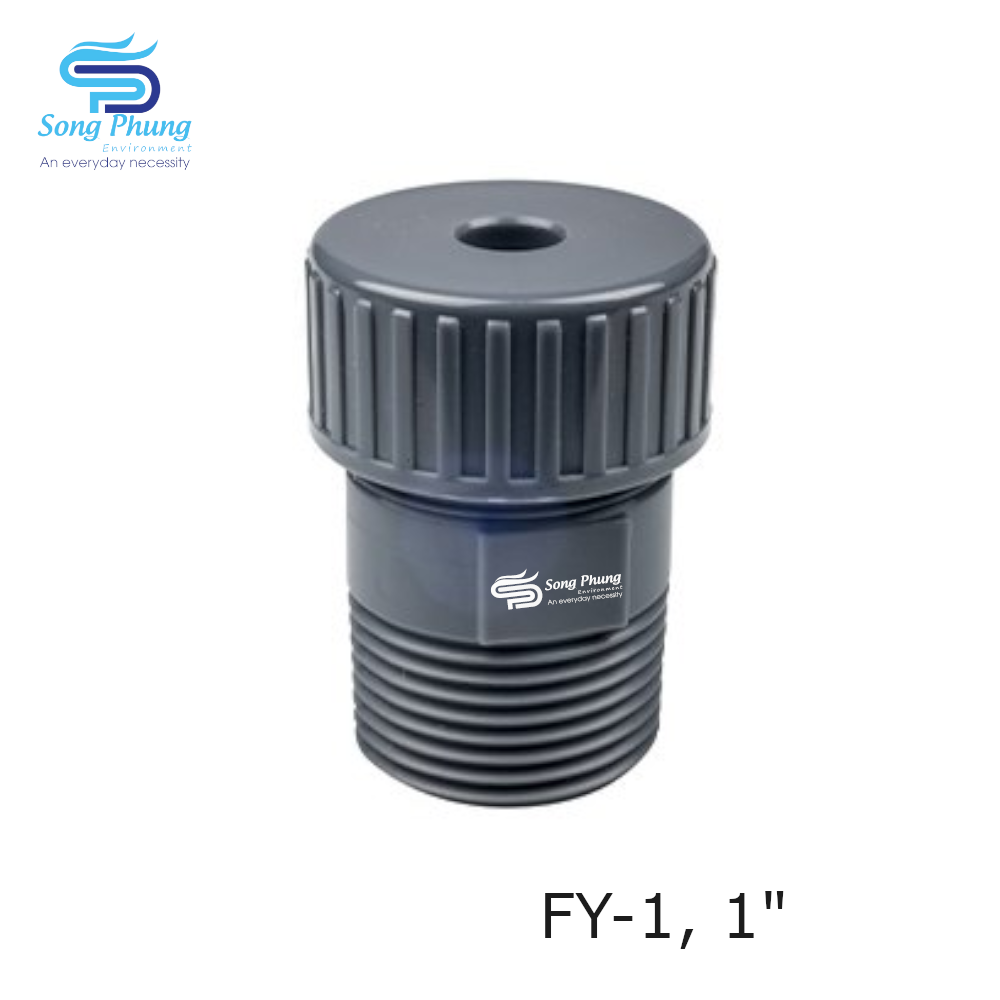
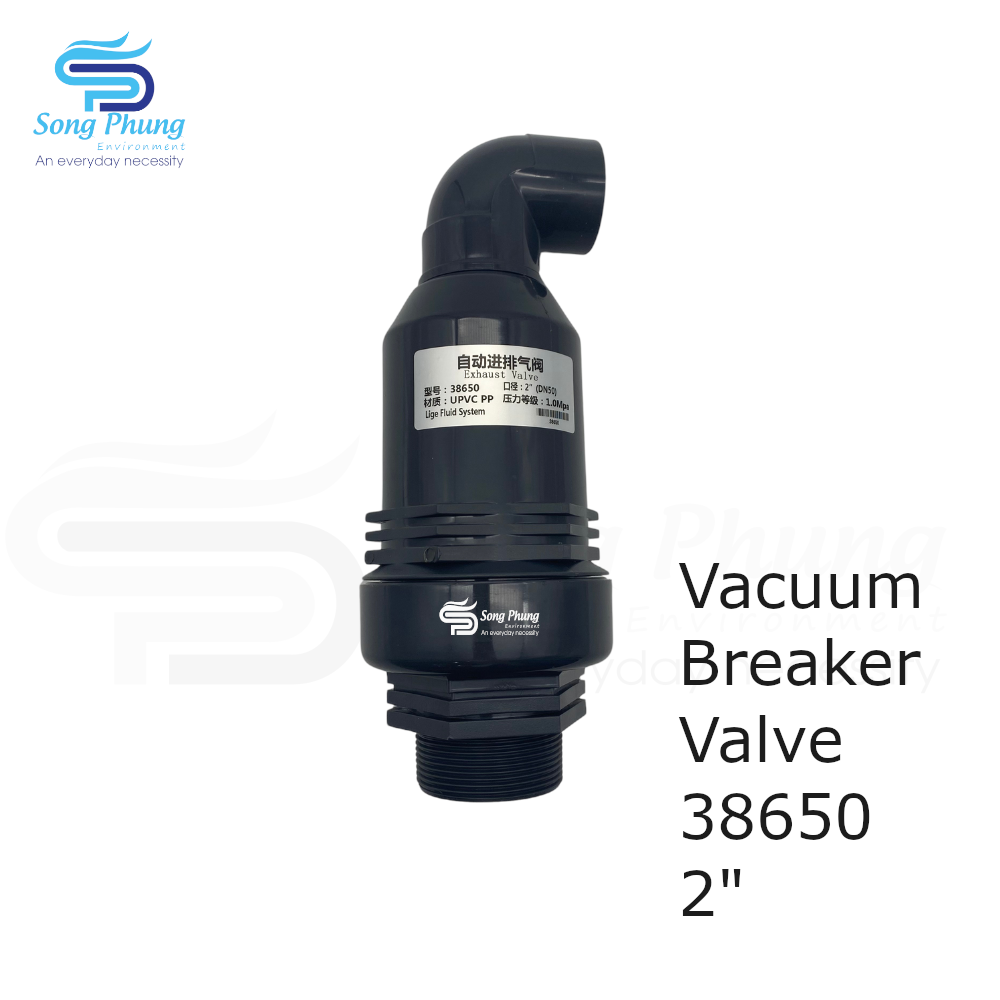
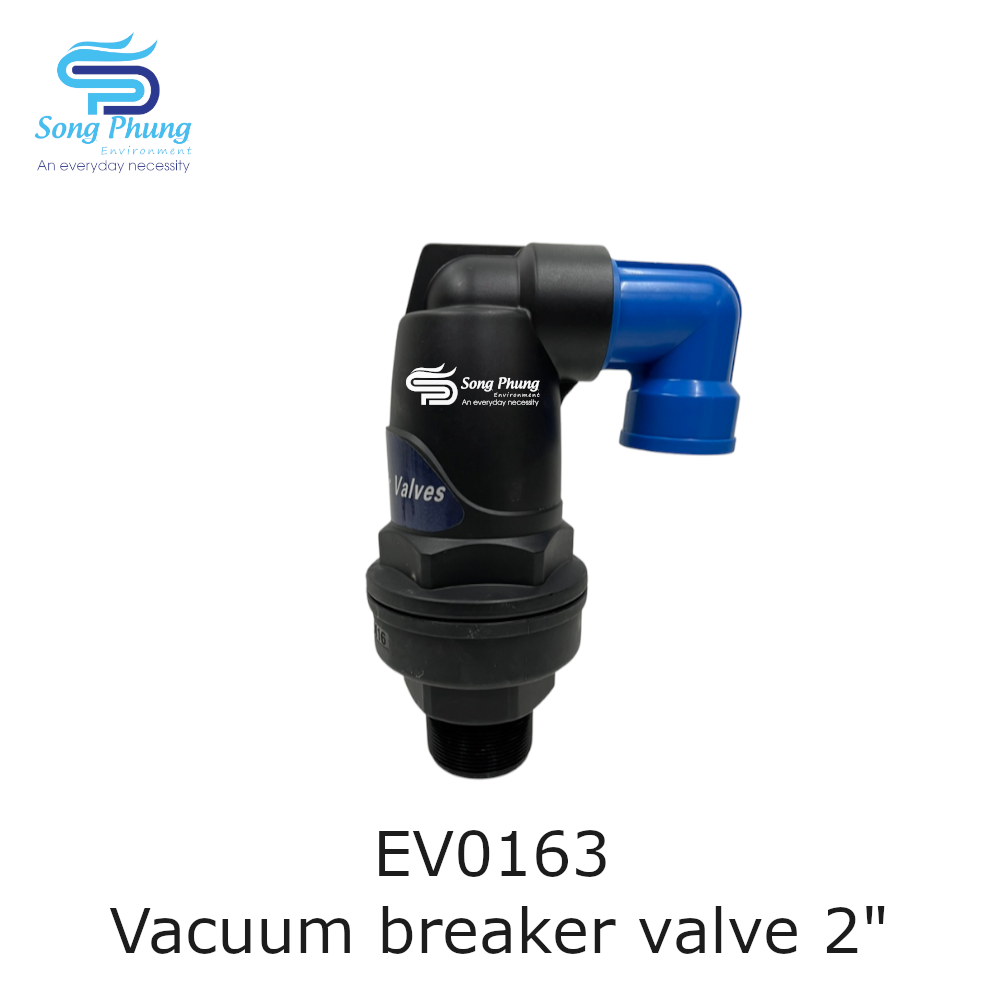
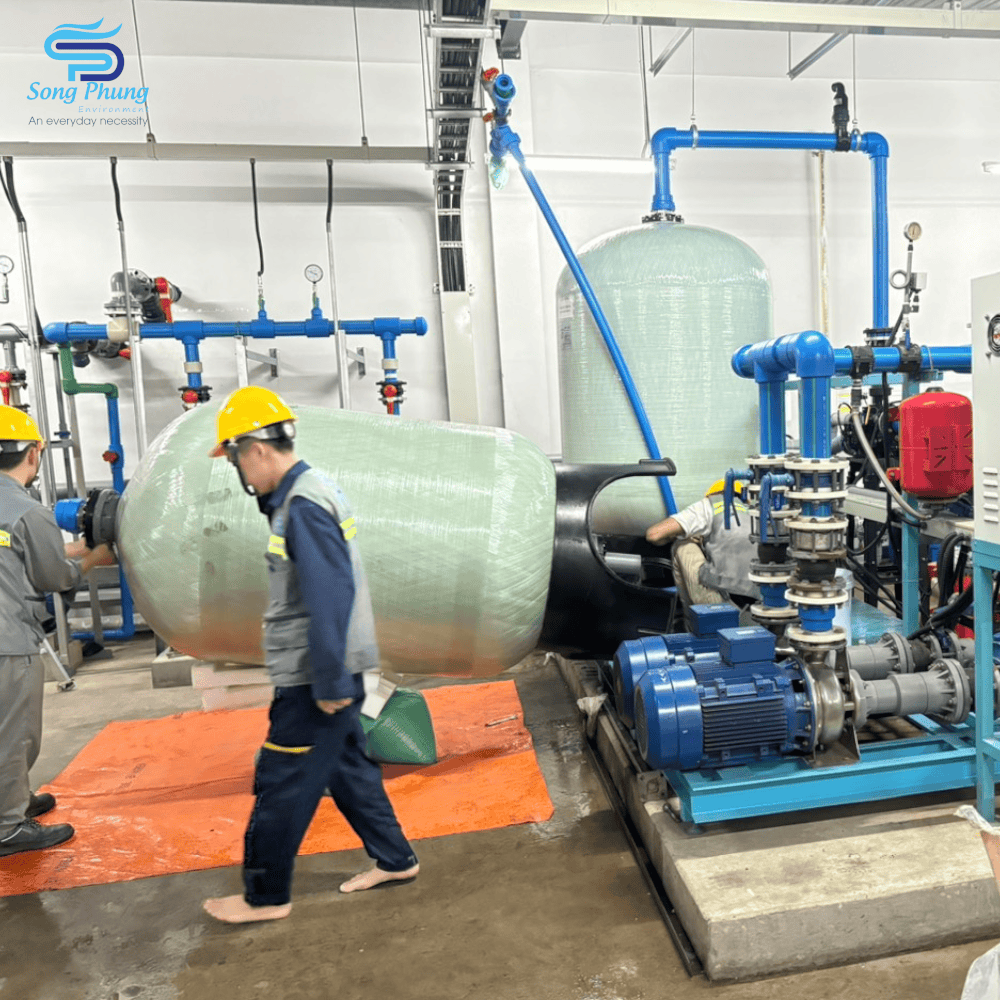
Drain your pool filter by removing the drain plug at the bottom of the filter tank and letting the water drain naturally, keeping in mind that negative pressure will occur if you don’t unclog the connections above. To prevent this, your filter system needs to be equipped with negative pressure valves provided by Song Phung. Check out the following types of negative pressure valves:
Step Three:
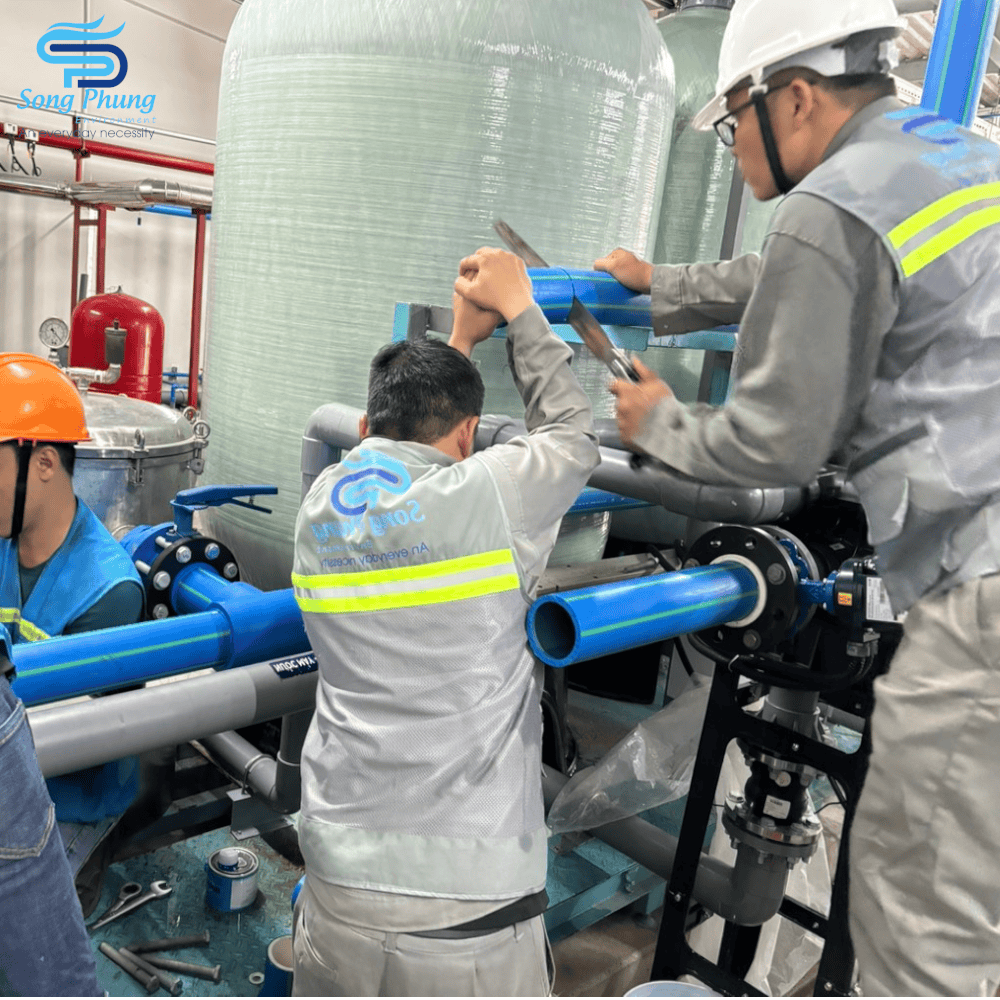
Remove any hoses or tubing attached to the multiport valve so you can access the media tank itself. If you have installed live joints or elbows, this will be simple. If the pipes are hard-wired to the valve, you will have no choice but to cut the pipes to remove the valve. If you are cutting the pipes, you should install couplings so that when you next change the sand, it will be as easy as unscrewing the coupling to remove the water pipe.
Once the plumbing is removed, give it a gentle twist and the multiport valve should pop out quite easily.
Step Four:
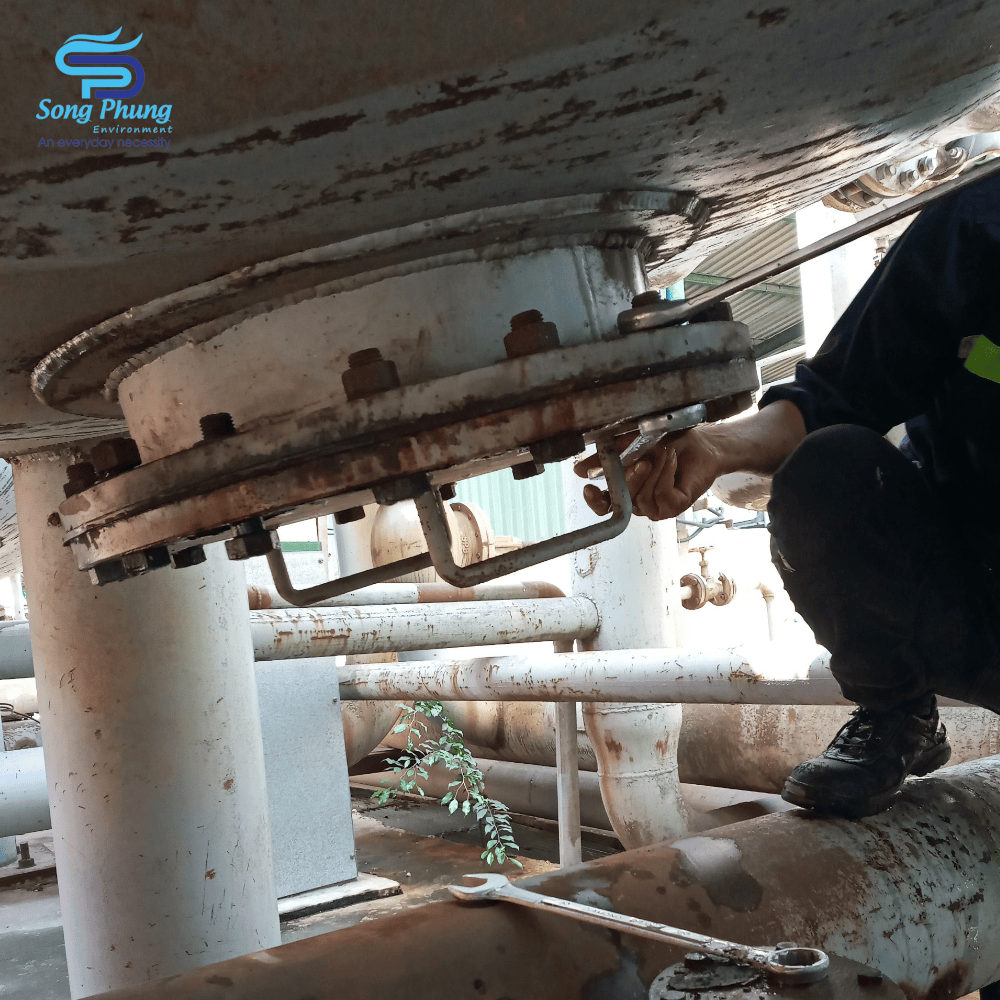
After removing the multi-port valve, you will see that the raiser pipe in the middle is the center pipe. Cover it with tape or cloth and tie it tightly with string to prevent sand from entering. If sand enters the raiser pipe, it will be discharged into the tank, or jam the automatic valve opening and closing gears that control the filter system. If the large filter tank has a flange cover or a manhole cover at the bottom, you can gently and slowly remove the bolts to slowly remove the filter material.
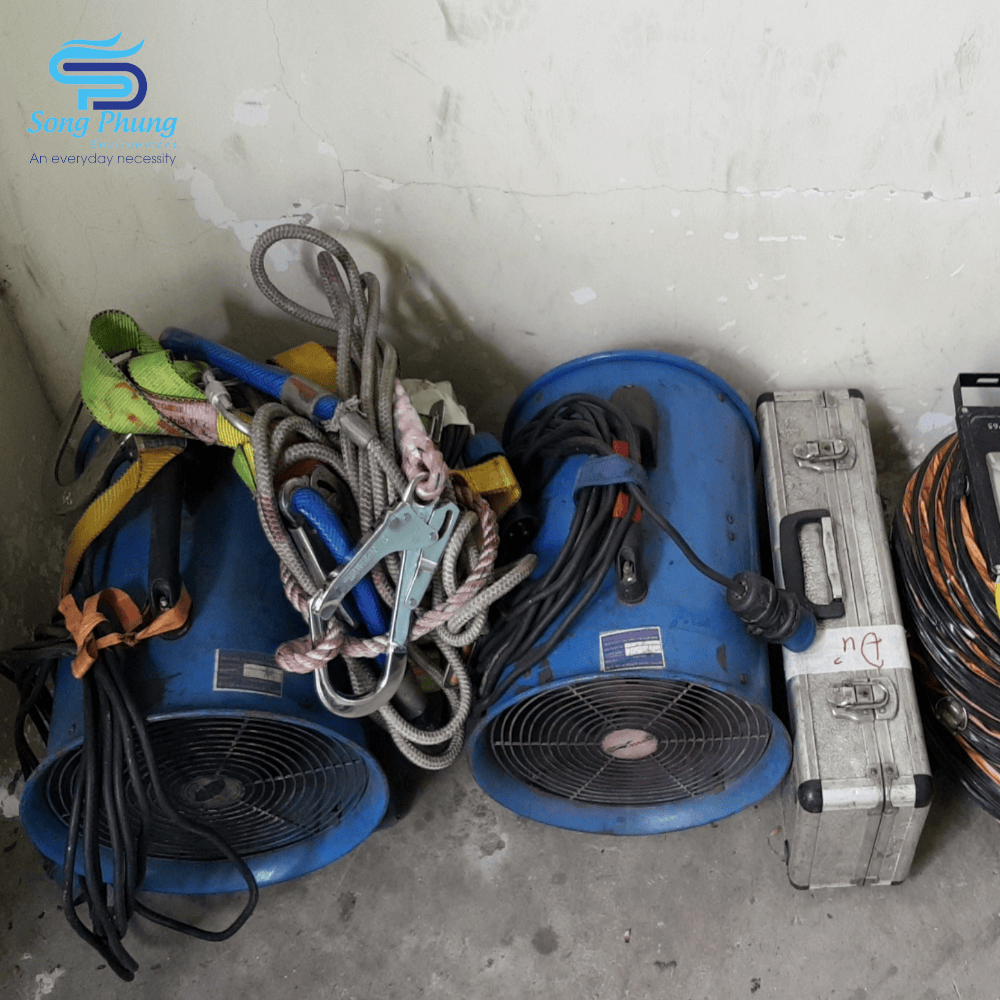
An important note is the step of checking labor safety for the entire working process, because the old filter material will include a lot of residue and organic matter that can easily decompose into toxic gases or the inside of the filter tank does not have enough operating space and ventilation, which will be dangerous for workers. Therefore, it is necessary to equip exhaust/blowing fans, safety ropes when working at height, anti-leakage pump devices, toxic gas detection, etc.
Step Five:
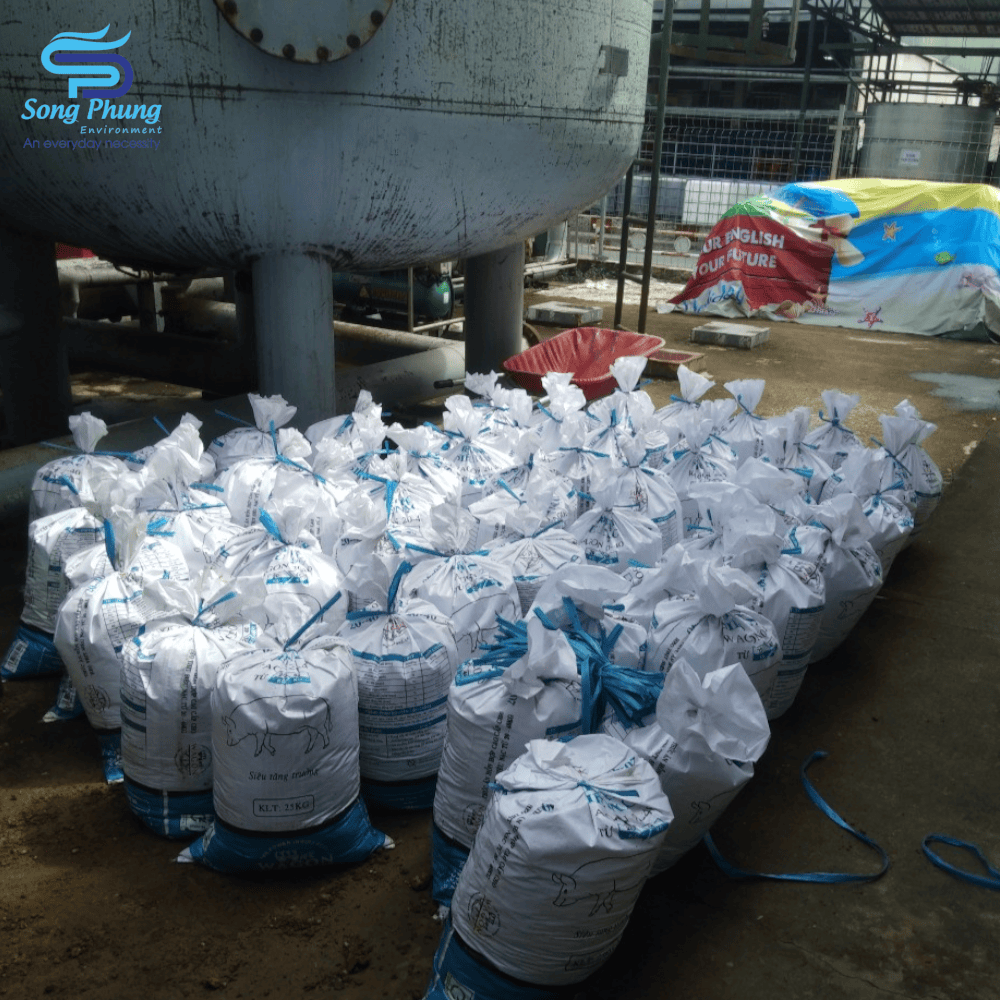
Carefully vacuum out the filter media using a hose or by removing the side flange (if your filter has a side flange). This will save you hours of hard work. Another option for easily removing sand from your pool is to use a Venturi Pump, a V-Pump that will vacuum up all the sand in no time (and save you beer from having to borrow a vacuum cleaner from your neighbor). Not only that, a V-Pump doesn’t require as much cleaning as a wet and dry vacuum, just rinse it off afterwards and you’re done. The vacuumed filter media is carefully bagged and taken away from the factory
Step Six:
When you can see the sides sticking to the bottom of the standpipe, the sand should be mostly gone. Rinse it off with a garden hose and the remaining sand should drain out through the drain plug you removed earlier.
Step Seven:
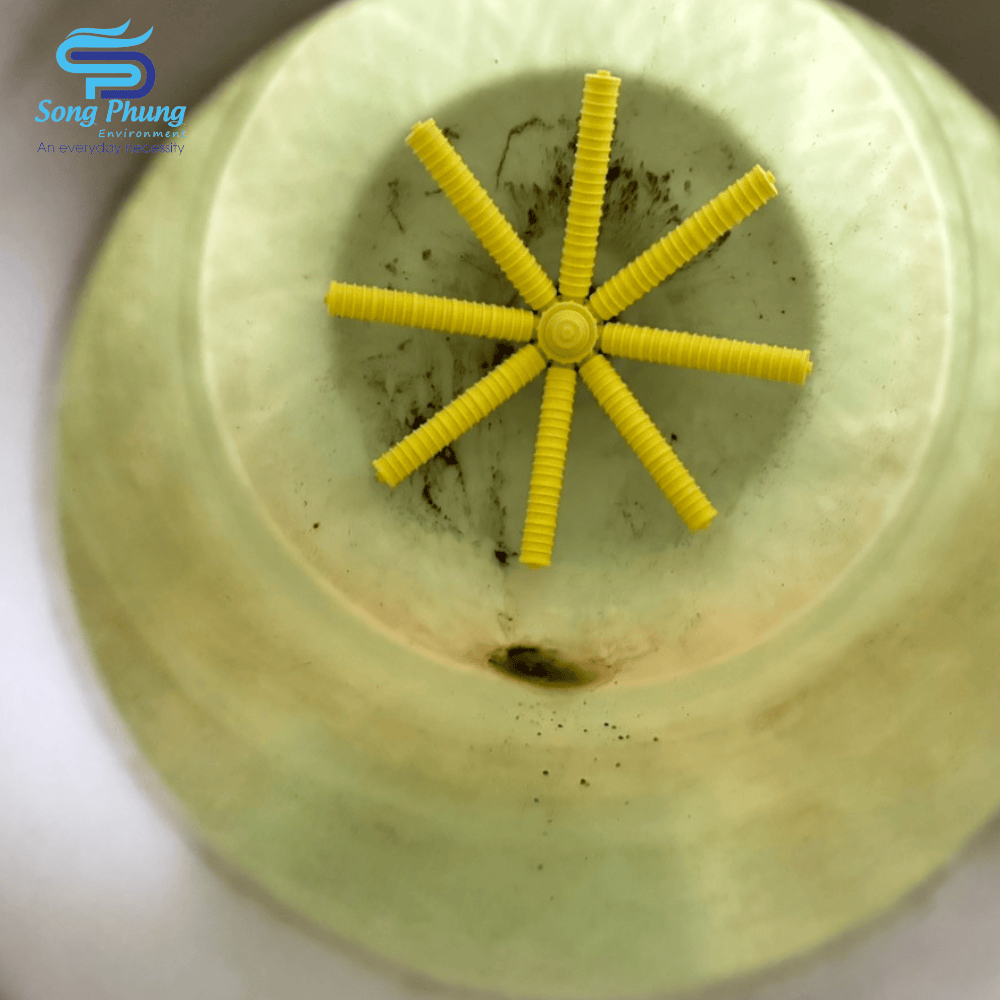
Check the inside of the filter for cracks and damage. If you find any, patch them up or consider replacing the sand filter to avoid any future emergencies. In particular, check the filter screen for cracks or breaks. Once you are satisfied that everything is working properly, reattach the drain plug and fill the tank about halfway with water.
Step Eight:
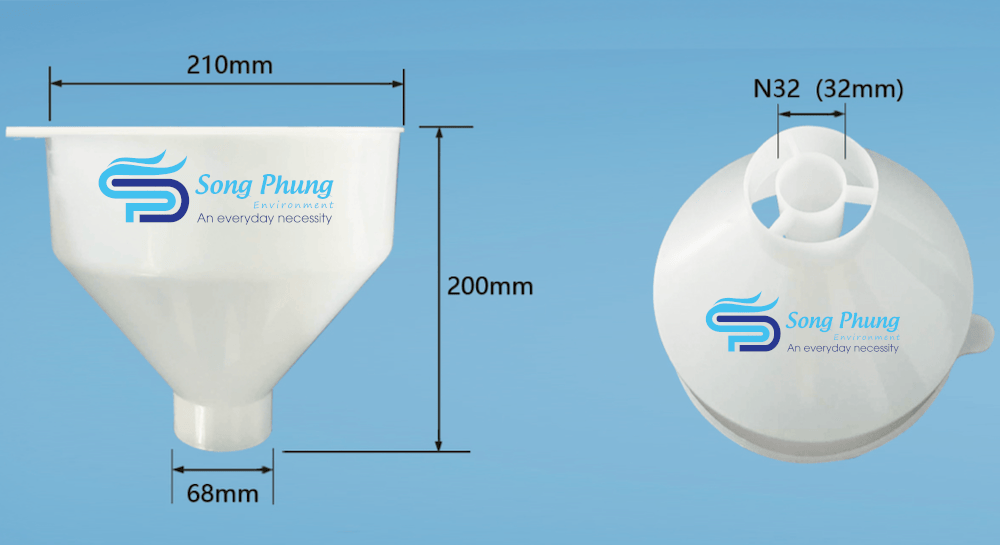
Fill the filter tank with water to 1/2 the tank volume, now you can start pouring in the filter material. Remember to make sure that the lid we attached in step four is tight and secure, you don’t want sand to get into the central standpipe. The purpose of pouring water inside is so that the falling sand will be cushioned by the water and the sides and bottom filter screen will not be damaged by the weight of the falling sand and gravel.
It is recommended to equip a dedicated filter material funnel to prevent the filter material from falling inside:
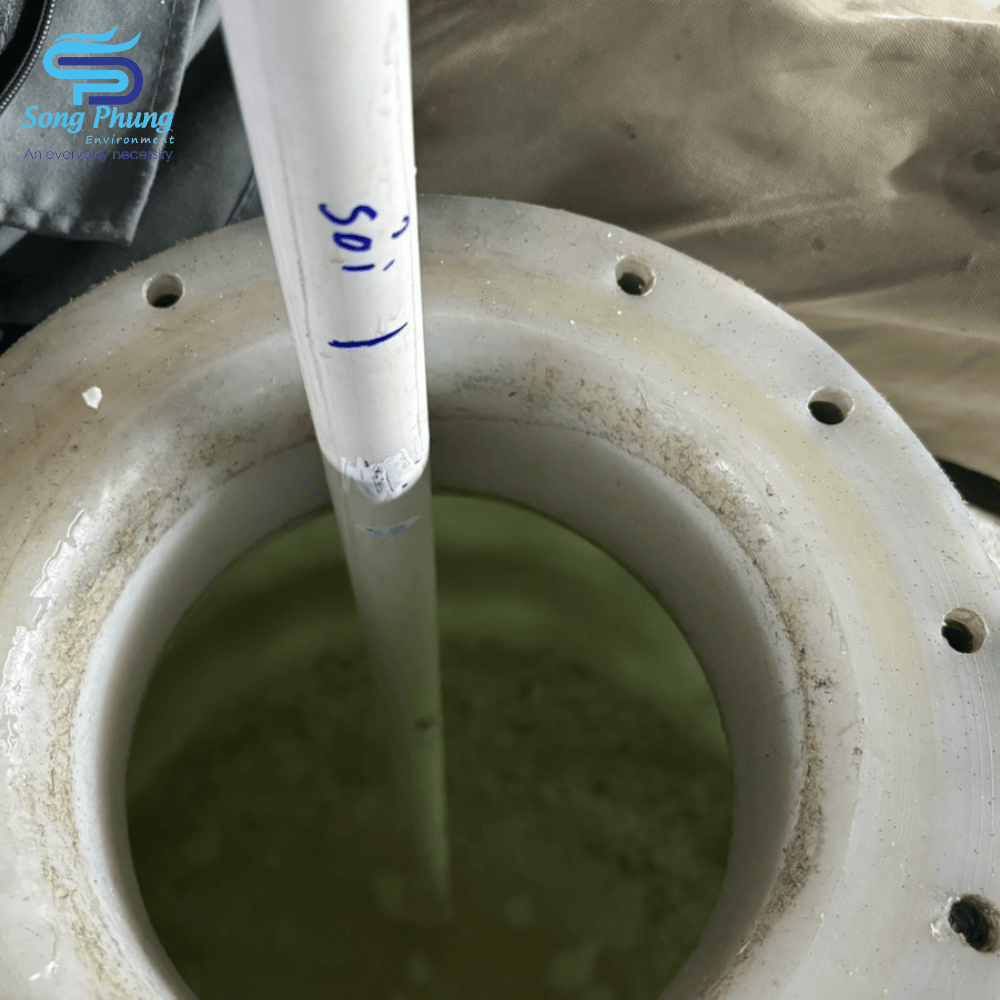
When pouring each layer of filter material, we need to check whether their height is correct as originally calculated by taking a piece of water pipe or steel bar, marking it and placing it in the filter tank as described in the following picture.
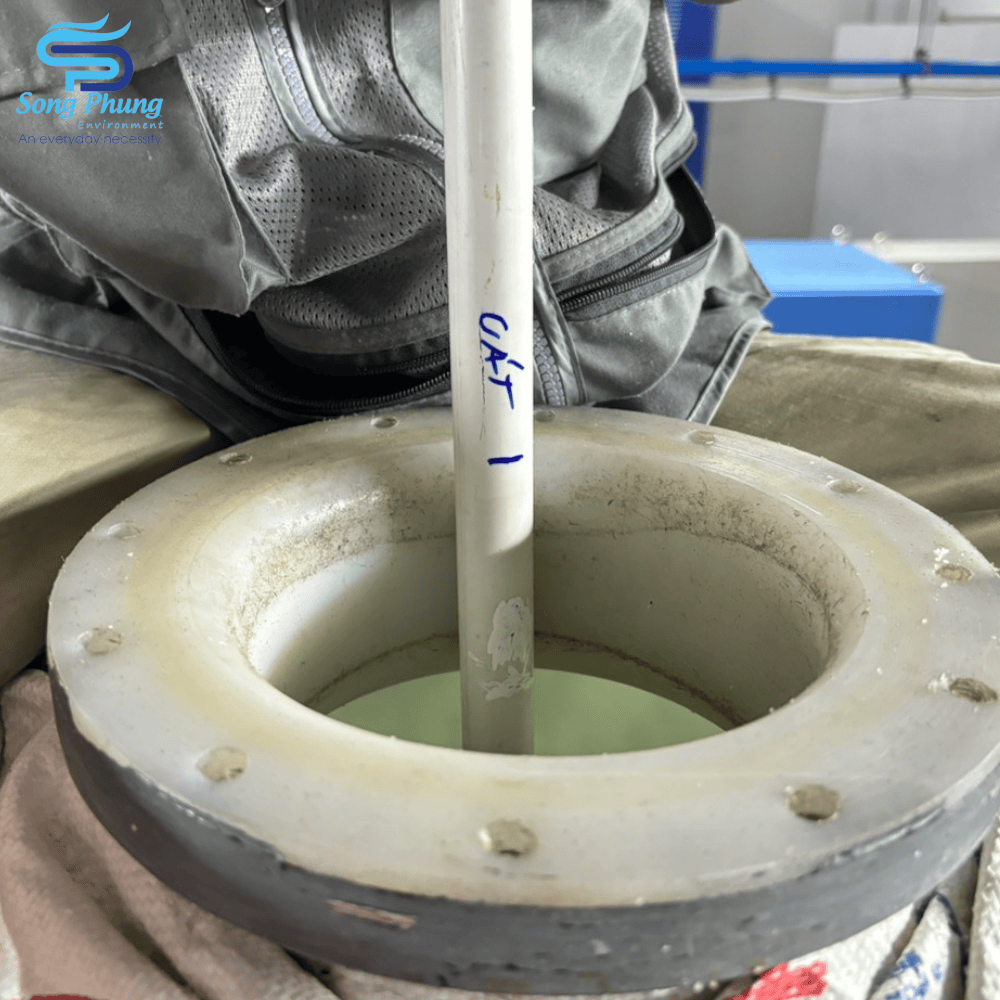
The same applies to all other types of filter materials, note to leave a gap above the surface of about 30-40% of the total height of the filter material or from 300mm-700mm from the top surface of the filter material layer to the mouth of the filter tank to help the filter cleaning process be cleaner due to the space for the filter material to expand.
Step Nine:
Once all the filter media is in, fill the tank with water and reinstall the connections to your filter. Be sure to remove the cap and shroud from the center riser before reinstalling the multiport valve. Make sure all fittings are flush and secure to avoid leaks and accidents.
Step Ten:
Backwash and rinse the filter to remove any excess sand in the system.
Step Eleven:
After the backwash is complete, run the filter and check the pressure valve. This is the normal/optimal running pressure of your filter. Write it down (preferably with a bright colored pen and some masking tape and stick it to the side of the filter) for future reference. If you see a pressure that is about 10 PSI higher than the optimal running pressure, that is a good sign that you need to backwash the filter.
That’s it, now it’s time to enjoy the fruits of your labor
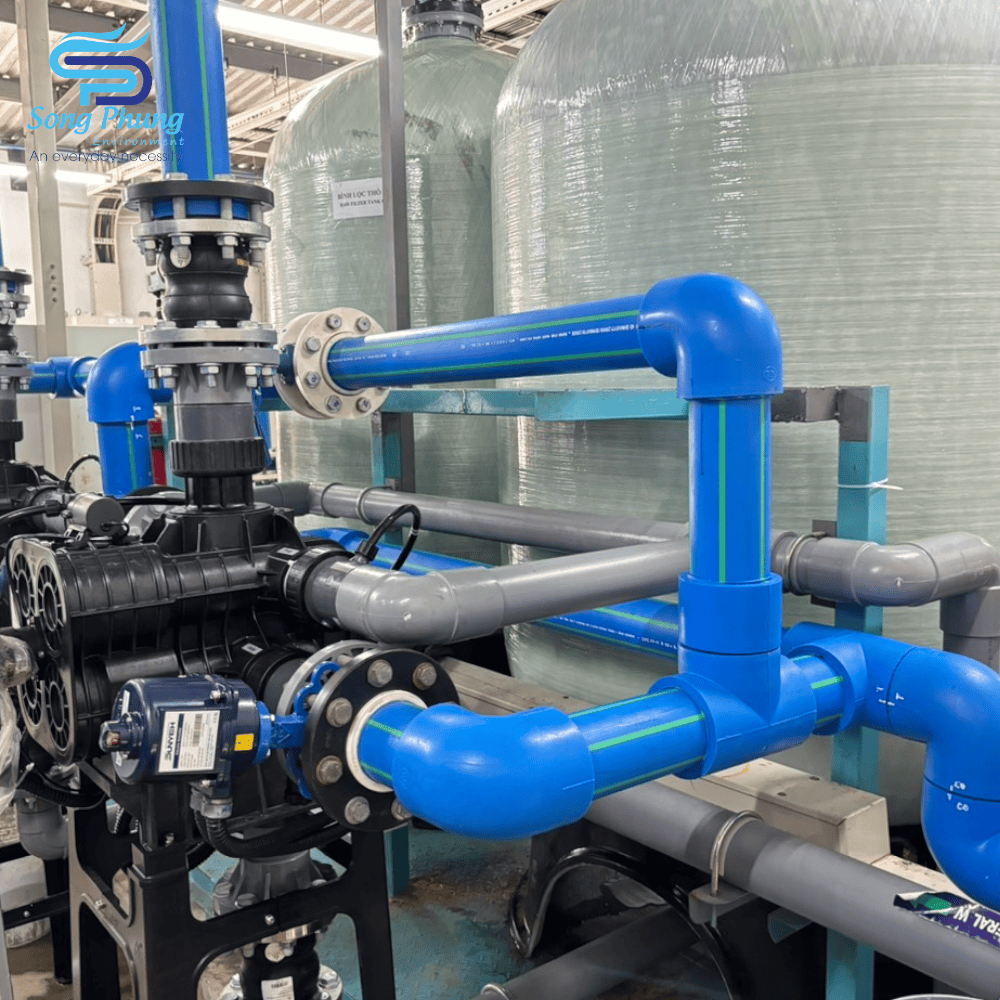
Steps to perform the service
- Survey the existing filtration system
- View the technological diagram, connection pipes
- Develop a plan for continuous bypass water supply if water demand is continuous
- Determine the size of the filter tank
- Calculate the amount of filter material that needs to be replaced
- Develop a plan to remove old material
- Check the internal filter mesh
- Check for leaks
- Consult and quote before implementation
- Service performed by Song Phung
Please contact Song Phung via hotline for more accurate advice and quotes for your filter tank


